AWS GuardDuty: Threat Detection That Actually Works
In 2022, a researcher at Lacework published an analysis of 500 AWS accounts across their customer base. The most common finding was cryptocurrency mining workloads running on EC2 instances that the account owners didn’t know about — instances launched with compromised IAM credentials, mining Monero quietly while the owner paid the bill. The median time between compromise and detection was 13 days. GuardDuty, when enabled, would have flagged the suspicious API call that launched those instances within minutes.
GuardDuty has been available since 2017 and still gets skipped. The reason is usually a combination of cost uncertainty and “we’ll add it later.” This guide covers what GuardDuty actually does, how it prices out, how to deploy it across an AWS Organization, and how to wire up auto-remediation so findings do something useful instead of sitting in a dashboard nobody checks.
What GuardDuty Is Actually Doing
GuardDuty is a regional service that analyzes log sources you’re already generating — CloudTrail management events, VPC Flow Logs, and Route 53 DNS query logs — without you having to route those logs anywhere. It reads them directly from the AWS infrastructure layer. You don’t configure log forwarding, you don’t pay for storage of the source data in GuardDuty’s systems. The service reads the logs on its behalf.
The analysis uses three mechanisms. First, threat intelligence feeds: known malicious IP addresses and domains, including GuardDuty’s own feeds maintained by AWS plus partner feeds from Proofpoint and CrowdStrike. If your EC2 instance calls out to an IP on the C2 list, that’s a finding. Second, machine learning models trained on patterns from across the AWS customer base. Unusual API call sequences — like an IAM user who has never called ec2:RunInstances suddenly launching 20 instances at 3am — get flagged even if none of the IPs involved are on any threat list. Third, anomaly baselines per account. GuardDuty learns what normal looks like for your account and flags deviations.
Since 2021, GuardDuty expanded its data sources significantly. You can now enable:
- S3 Protection: analyzes S3 data plane events (GetObject, PutObject, DeleteObject) for suspicious access patterns
- EKS Protection: analyzes EKS audit logs for container escape attempts, privilege escalation, and suspicious API calls within the cluster
- Malware Protection: scans EBS volumes attached to EC2 instances and container workloads when a suspicious finding is triggered
- RDS Protection: monitors login events to Aurora databases for brute force and anomalous access
- Lambda Network Activity Monitoring: analyzes network connections made by Lambda functions for calls to malicious endpoints
- Runtime Monitoring: agent-based monitoring for EKS, ECS, and EC2 that captures process-level activity
Each protection type is priced separately and can be enabled or disabled independently. The base GuardDuty (CloudTrail + VPC Flow Logs + DNS) is almost always worth enabling. The extended protection types require evaluation against your environment’s threat model.
Finding Types and Severity
GuardDuty findings follow the format ThreatPurpose:ResourceType/ThreatFamilyName.DetectionMechanism. A few concrete examples:
UnauthorizedAccess:IAMUser/ConsoleLoginSuccess.B— console login from an unusual location or IPRecon:EC2/PortProbeUnprotectedPort— an external host scanning your instance’s portsCryptoCurrency:EC2/BitcoinTool.B!DNS— DNS query to a known Bitcoin mining poolBackdoor:EC2/C&CActivity.B— outbound call to a known command-and-control serverPrivilegeEscalation:Kubernetes/PrivilegedContainer— a container running with privileged flag in EKSExecution:Lambda/SuspiciousNetworkActivity.DNSRebinding— Lambda function making DNS rebinding calls
Severity runs from 0.1 to 10. Low (1.0–3.9) findings are informational and rarely require immediate action. Medium (4.0–6.9) findings should be reviewed and triaged within a day or two — they’re often real but the blast radius is limited. High (7.0–8.9) findings warrant same-day investigation. Critical (9.0–10.0) findings, added in 2023, indicate confirmed active threats and should trigger immediate response.
The finding detail includes the affected resource ARN, the API call or network activity that triggered it, timestamps, geolocation of the source IP, and an action block that tells you what happened. Most findings also include a count field if the same threat pattern has repeated — a finding with count=1 is very different from count=847.
Enabling GuardDuty
Enabling GuardDuty in a single account takes two API calls:
# Enable GuardDuty
aws guardduty create-detector \
  --enable \
  --finding-publishing-frequency FIFTEEN_MINUTES \
  --region us-east-1

# Save the detector ID — you'll need it for everything else
DETECTOR_ID=$(aws guardduty list-detectors \
  --query 'DetectorIds[0]' \
  --output text)

# Enable S3 Protection
aws guardduty update-detector \
  --detector-id $DETECTOR_ID \
  --data-sources '{"S3Logs":{"Enable":true}}'

# Enable EKS Protection (if you run EKS)
aws guardduty update-detector \
  --detector-id $DETECTOR_ID \
  --features '[{"Name":"EKS_AUDIT_LOGS","Status":"ENABLED"}]'
Finding publishing frequency controls how often new findings are sent to EventBridge. Options are FIFTEEN_MINUTES, ONE_HOUR, and SIX_HOURS. The default is six hours, which is too slow for high-severity findings — set it to 15 minutes.
For an AWS Organization, use the Organizations integration instead of enabling account by account. Designate a delegated administrator account (your security account, not the management account):
# Run from management account
aws guardduty enable-organization-admin-account \
  --admin-account-id 999999999999   # your security account ID

# Switch to security account, then configure org settings
aws guardduty update-organization-configuration \
  --detector-id $DETECTOR_ID \
  --auto-enable-org-config \
    '{"AutoEnable":"NEW","MemberAccountLimitReached":false}' \
  --features '[
    {"Name":"S3_DATA_EVENTS","AutoEnable":"NEW"},
    {"Name":"EKS_AUDIT_LOGS","AutoEnable":"NEW"},
    {"Name":"LAMBDA_NETWORK_LOGS","AutoEnable":"NEW"}
  ]'
AutoEnable: "NEW" means new accounts that join the organization automatically get GuardDuty enabled. Existing accounts need to be enrolled separately with create-members. The ALL option would auto-enable across existing accounts too, but apply it carefully if some accounts have custom detector configurations.
Cost Reality
GuardDuty pricing is per data volume analyzed, per region, per account. The components:
- CloudTrail management events: $4.00 per 1M events (first 500M/month), dropping at scale
- CloudTrail data events: $0.45 per 1M events
- VPC Flow Logs and DNS logs: $1.00 per GB for the first 500 GB/month
- S3 Protection: $0.20 per 1M S3 data events
- EKS Runtime Monitoring: $0.011 per vCPU-hour of monitored workloads
- Malware Protection: $0.012 per GB of volume scanned
The 30-day free trial gives you full access with usage estimates so you can project costs before committing. For a mid-sized account running 50 EC2 instances with moderate API activity, the base GuardDuty (CloudTrail + Flow Logs + DNS) typically runs $20–80/month. An organization with 20 accounts across multiple regions might see $200–500/month total. Compared to the cost of an undetected compromise — incident response, forensics, regulatory reporting, customer notification — it’s not a hard number to justify.
Auto-Remediation with EventBridge + Lambda
Findings sitting in the GuardDuty console don’t help anyone. The right architecture: GuardDuty → EventBridge → Lambda for automated response, with SNS notification for human review.
# Create EventBridge rule for high-severity findings
aws events put-rule \
  --name "GuardDuty-HighSeverity" \
  --event-pattern '{
    "source": ["aws.guardduty"],
    "detail-type": ["GuardDuty Finding"],
    "detail": {
      "severity": [{"numeric": [">=", 7]}]
    }
  }' \
  --state ENABLED
A Lambda function that handles the most common high-severity IAM finding — compromised credentials:
import boto3
import json

def handler(event, context):
    finding = event['detail']
    finding_type = finding['type']
    severity = finding['severity']

    # Handle compromised IAM user
    if 'IAMUser' in finding_type:
        principal = finding['resource']['accessKeyDetails']
        user_name = principal.get('userName', '')
        access_key_id = principal.get('accessKeyId', '')

        iam = boto3.client('iam')

        if access_key_id:
            # Disable the compromised key immediately
            iam.update_access_key(
                UserName=user_name,
                AccessKeyId=access_key_id,
                Status='Inactive'
            )
            print(f"Disabled access key {access_key_id} for user {user_name}")

        # Tag the user for follow-up investigation
        iam.tag_user(
            UserName=user_name,
            Tags=[
                {'Key': 'SecurityIncident', 'Value': 'GuardDutyFinding'},
                {'Key': 'FindingType', 'Value': finding_type},
                {'Key': 'FindingId', 'Value': finding['id']}
            ]
        )

    # Handle cryptocurrency mining on EC2
    if 'CryptoCurrency' in finding_type or 'Backdoor' in finding_type:
        instance_id = finding.get('resource', {}).get(
            'instanceDetails', {}
        ).get('instanceId', '')

        if instance_id:
            ec2 = boto3.client('ec2')

            # Isolate the instance by removing all security groups
            # and adding an isolation SG with no outbound rules
            ec2.modify_instance_attribute(
                InstanceId=instance_id,
                Groups=['sg-ISOLATION_SG_ID']  # pre-created isolation SG
            )
            print(f"Isolated EC2 instance {instance_id}")

    # Always send to SNS for human review
    sns = boto3.client('sns')
    sns.publish(
        TopicArn='arn:aws:sns:us-east-1:123456789012:security-alerts',
        Subject=f"GuardDuty {severity:.1f} — {finding_type}",
        Message=json.dumps(finding, indent=2, default=str)
    )

    return {'statusCode': 200}
The isolation SG approach is safer than stopping the instance — stopping destroys volatile memory and process state that forensics needs. Isolating keeps the instance running and observable while preventing further damage.
Suppression Rules
Not every finding requires action. GuardDuty lets you create suppression rules that archive findings matching specific criteria. Useful for:
- Pentest IP ranges that trigger reconnaissance findings during authorized scans
- Known vulnerability scanners in your environment
- EC2 instances that legitimately communicate with unusual endpoints
# Suppress findings from a specific IP (pentest CIDR)
aws guardduty create-filter \
  --detector-id $DETECTOR_ID \
  --name "PentestSuppression" \
  --action ARCHIVE \
  --finding-criteria '{
    "Criterion": {
      "service.action.networkConnectionAction.remoteIpDetails.ipAddressV4": {
        "Equals": ["203.0.113.0/24"]
      }
    }
  }'
Suppression rules archive rather than delete — suppressed findings are still visible if you filter for them. Be conservative with suppression. A broad suppression rule can hide real threats.
What GuardDuty Misses
GuardDuty is good at detecting network-level threats, unusual API call patterns, and known bad actor infrastructure. It doesn’t do everything.
It doesn’t replace config compliance checking. GuardDuty won’t tell you that your S3 bucket is publicly accessible — that’s AWS Config or Security Hub’s job. It detects active exploitation, not misconfigurations.
It doesn’t correlate findings across time well. A sophisticated attacker who exfiltrates data slowly over weeks, staying under the anomaly threshold each day, may not trigger any findings. It’s built for detection of known patterns and statistical anomalies, not long-horizon correlation.
It doesn’t replace EDR on EC2. Runtime Monitoring adds process-level visibility, but it’s not a replacement for a full endpoint detection and response solution on instances handling sensitive data.
For a complete picture, GuardDuty works best alongside AWS Security Hub for aggregation and compliance context, and AWS CloudTrail for forensic investigation after a finding fires. The IAM roles and policies guide covers how to scope the IAM permissions for your auto-remediation Lambda to the minimum required — a Lambda that can disable any IAM key in the account is itself a significant blast radius if compromised.
Enable GuardDuty, set finding publishing to 15 minutes, wire up EventBridge to at least an SNS notification, and revisit suppression rules quarterly. The 30-day free trial removes every excuse to not have it running.
Explore more like this
Aurora Serverless v2 + Bedrock: AI Database Queries in 2026
I connected Bedrock to our Aurora cluster last month. The first thing I asked it was “show me all customers who churned in Q1 but came back in Q2” —...
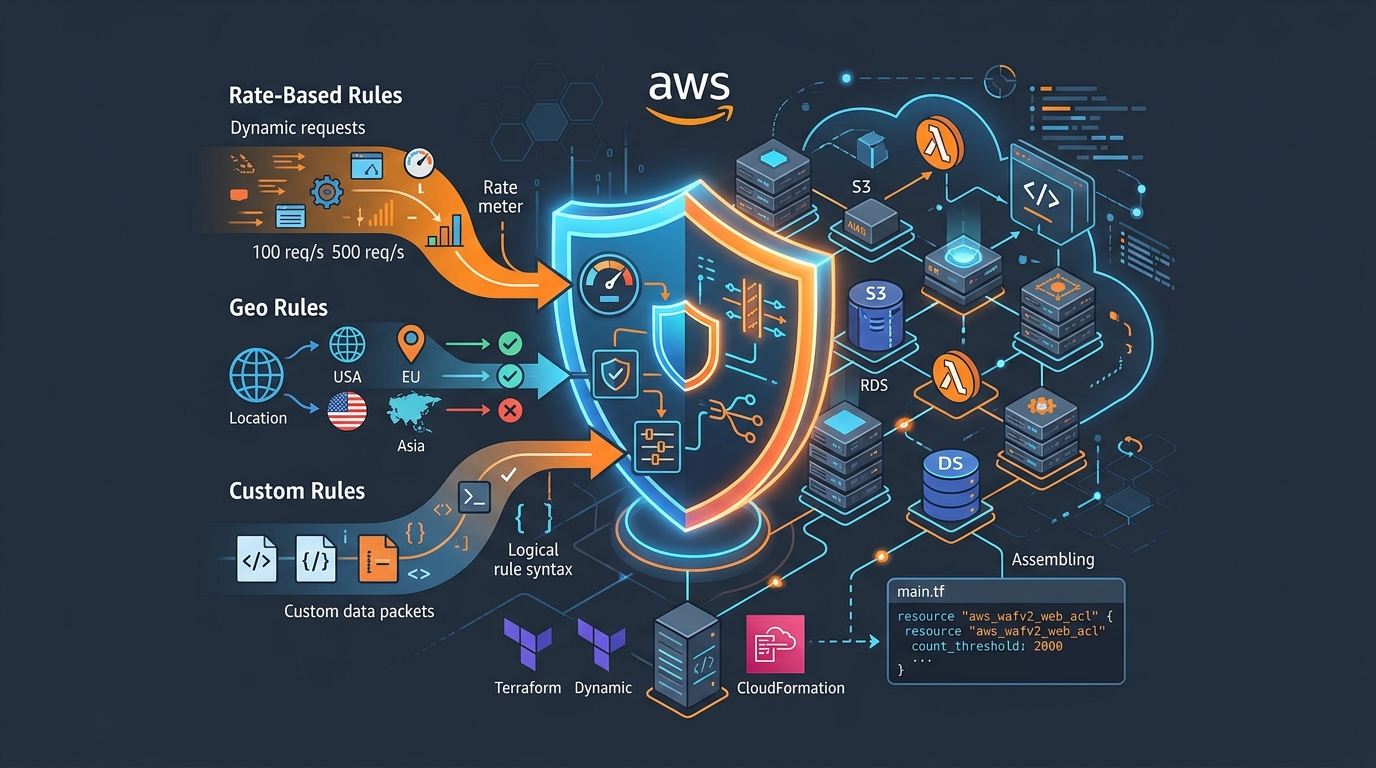
AWS WAF Rules Deep Dive: Rate-Based, Geo, and Custom Rules
WAF is one of those services where the default managed rules get you 80% of the way there. The last 20% is where it gets interesting.

Comments