Amazon Bedrock Cost Allocation by IAM User and Role
When three teams share a single AWS account and all call Bedrock, figuring out who spent what requires more than just looking at the monthly bill. The “Amazon Bedrock” line item in Cost Explorer shows a total — it doesn’t split costs by application, team, or environment without some deliberate setup. AWS solved this with cost allocation tag support for Bedrock, which lets you attribute model invocation charges to specific IAM principals and apply any tag-based breakdown you already use for the rest of your infrastructure.
This post covers how the feature works, the exact steps to enable it, what it looks like in Cost Explorer and Cost and Usage Reports, and the gotchas that will waste your time if you hit them blind.
How Bedrock Cost Attribution Works
Bedrock charges accumulate per invocation. Each call to InvokeModel or InvokeModelWithResponseStream costs input tokens + output tokens billed against the model’s per-token rate. AWS records who made each call and can surface that information in billing data.
There are two complementary mechanisms. First, IAM principal attribution: Bedrock records the IAM ARN (role or user) that signed each API request. In CUR 2.0, the identity/principalArn column shows exactly which role invoked each model. If your platform team runs under arn:aws:iam::123456789012:role/platform-bedrock-role and your search team runs under a different role, you can split costs by filtering on that column. No tagging required — it’s automatic once you have a CUR export configured.
Second, cost allocation tags: if you tag your IAM roles with business metadata (team, application, environment), those tags propagate to Bedrock usage costs in billing data. This is how you get “show me what the customer support chatbot spent on Claude this month” without having to know which IAM role it uses.
Setting Up CUR 2.0 with Bedrock Columns
Cost and Usage Reports (CUR) 2.0 is the format that includes the identity/ columns including identity/principalArn. If you’re still on CUR 1.0, those columns aren’t available.
Create or migrate your export:
# Create a CUR 2.0 export (replaces CUR 1.0)
aws cur create-report-definition \
  --report-definition '{
    "ReportName": "bedrock-cost-report",
    "TimeUnit": "HOURLY",
    "Format": "Parquet",
    "Compression": "Parquet",
    "AdditionalSchemaElements": ["RESOURCES", "SPLIT_COST_ALLOCATION_DATA"],
    "S3Bucket": "your-cur-bucket",
    "S3Prefix": "cur2",
    "S3Region": "us-east-1",
    "ReportVersioning": "OVERWRITE_REPORT",
    "BillingViewArn": "",
    "ReportFormat": "textORcsv",
    "IncludeResourceIds": true
  }' \
  --region us-east-1
Once the export is running, Bedrock rows look like this in Athena:
SELECT
  identity_principalarn,
  line_item_usage_type,
  SUM(line_item_unblended_cost) AS total_cost,
  SUM(line_item_usage_amount) AS usage_amount
FROM cur2_report
WHERE product_servicename = 'Amazon Bedrock'
  AND line_item_line_item_type = 'Usage'
  AND year = '2026'
  AND month = '7'
GROUP BY identity_principalarn, line_item_usage_type
ORDER BY total_cost DESC;
That query gives you a breakdown of Bedrock spending by IAM principal, per usage type (input tokens vs output tokens per model). The line_item_usage_type values look like us-east-1-InvokeModel:amazon.nova-pro-v1:0-input-tokens — model ID is embedded in the usage type string.
Tagging IAM Roles for Cost Allocation
Principal-level attribution is useful when each application uses a dedicated IAM role. Tag those roles with your organizational taxonomy:
aws iam tag-role \
  --role-name platform-bedrock-role \
  --tags '[
    {"Key": "team", "Value": "platform"},
    {"Key": "application", "Value": "internal-assistant"},
    {"Key": "environment", "Value": "production"},
    {"Key": "cost-center", "Value": "eng-platform"}
  ]'

aws iam tag-role \
  --role-name search-bedrock-role \
  --tags '[
    {"Key": "team", "Value": "search"},
    {"Key": "application", "Value": "semantic-search"},
    {"Key": "environment", "Value": "production"},
    {"Key": "cost-center", "Value": "eng-search"}
  ]'
After tagging the roles, you need to activate those tag keys as cost allocation tags in the AWS Billing console. Without activation, the tags are on the IAM roles but won’t appear in billing data. Go to Billing → Cost Allocation Tags → User-Defined Tags, find each key you want, and activate it. You can also use the API:
# List tags pending activation
aws ce list-cost-allocation-tags \
  --status INACTIVE \
  --type UserDefined \
  --query 'CostAllocationTags[?contains(TagKey, `team`) || contains(TagKey, `application`)]'

# Activate specific tags
aws ce update-cost-allocation-tags-status \
  --cost-allocation-tags-status '[
    {"TagKey": "team", "Status": "Active"},
    {"TagKey": "application", "Status": "Active"},
    {"TagKey": "cost-center", "Status": "Active"}
  ]'
Once activated, tag values appear as resourceTags/user:team, resourceTags/user:application columns in CUR 2.0. The query then becomes:
SELECT
  resource_tags_user_team,
  resource_tags_user_application,
  SUM(line_item_unblended_cost) AS total_cost
FROM cur2_report
WHERE product_servicename = 'Amazon Bedrock'
  AND year = '2026' AND month = '7'
GROUP BY resource_tags_user_team, resource_tags_user_application
ORDER BY total_cost DESC;
Viewing Costs in Cost Explorer
Cost Explorer supports filtering and grouping by cost allocation tags once activated. Navigate to Cost Explorer, set Group by to “Tag” and select team or application. Bedrock costs will appear broken down by tag value in the same chart as your other AWS services.
You can also create a Cost Explorer saved filter preset for Bedrock specifically:
# Get Bedrock costs grouped by team tag for last 30 days
aws ce get-cost-and-usage \
  --time-period Start=2026-06-21,End=2026-07-21 \
  --granularity MONTHLY \
  --filter '{"Dimensions": {"Key": "SERVICE", "Values": ["Amazon Bedrock"]}}' \
  --group-by '[{"Type": "TAG", "Key": "team"}]' \
  --metrics BlendedCost UnblendedCost
The response includes a Groups array where each entry has the tag value and cost. An untagged role appears as team$ (empty value after the delimiter). That’s how you catch applications that haven’t been properly tagged — they show up as cost you can’t attribute.
Gotchas
48-hour activation delay. After you activate a tag key in the Billing console, it takes up to 48 hours for that tag to appear in Cost Explorer and CUR data. Don’t test this on Friday and expect to see results before the weekend. The tag is propagating through AWS billing infrastructure — there’s no way to speed it up.
Historical data isn’t backfilled. Activating team on July 21 means you’ll see team breakdowns from July 21 forward. Costs from June won’t show tag values — they’ll appear as untagged. If you need historical attribution, you’re querying by IAM principal ARN in CUR 2.0, not by tag.
High-cardinality tags cause Cost Explorer performance issues. If you tag by user-id or some other high-cardinality key, Cost Explorer slows noticeably and the breakdown becomes hard to read. Keep tag cardinality low — team (5-10 values), application (20-30 values), environment (3-4 values). The IAM principal ARN column in CUR 2.0 handles high-cardinality attribution better because it’s an Athena query, not a Cost Explorer chart.
Cross-account roles. When a Lambda in account A assumes a role in account B to call Bedrock, the cost appears in account B under the assumed role. The identity/principalArn will show the cross-account role ARN, not the Lambda’s role. Tag the Bedrock-facing role in account B, not the originating role in account A.
No per-request tagging. You can’t pass arbitrary tags per InvokeModel call. Attribution is at the IAM principal level — whichever role signs the request. If one Lambda function handles requests for multiple teams using the same role, you can’t split Bedrock costs between those teams through tagging alone. You’d need separate IAM roles per team, or you need to implement your own usage metering layer on top.
Terraform Configuration
If you’re provisioning IAM roles via Terraform, add the billing tags at creation time:
resource "aws_iam_role" "bedrock_platform" {
  name = "platform-bedrock-role"

  assume_role_policy = jsonencode({
    Version = "2012-10-17"
    Statement = [{
      Effect    = "Allow"
      Principal = { Service = "lambda.amazonaws.com" }
      Action    = "sts:AssumeRole"
    }]
  })

  tags = {
    team        = "platform"
    application = "internal-assistant"
    environment = "production"
    cost-center = "eng-platform"
  }
}

resource "aws_iam_role_policy" "bedrock_access" {
  name = "bedrock-invoke"
  role = aws_iam_role.bedrock_platform.id

  policy = jsonencode({
    Version = "2012-10-17"
    Statement = [{
      Effect = "Allow"
      Action = [
        "bedrock:InvokeModel",
        "bedrock:InvokeModelWithResponseStream"
      ]
      Resource = "arn:aws:bedrock:*::foundation-model/*"
    }]
  })
}
For the actual tag activation step, that’s Billing API and isn’t Terraform-managed — activate tags manually once after the initial role provisioning, or use a null_resource with a local-exec provisioner to call aws ce update-cost-allocation-tags-status. Most teams do this step manually during initial AWS account setup.
What You Get Out of It
A realistic outcome: you run the Athena query after your first full month with tags activated and find that your internal chatbot is spending $340/month on Claude input tokens while your semantic search application spends $89. That’s useful for budget conversations. You also find $78 attributed to an untagged role — which turns out to be a dev who was testing Nova Pro directly from their laptop using a shared service account. The tag gap catches that.
The IAM permission boundaries guide is worth reading alongside this if you’re enforcing that Bedrock-facing roles must have cost allocation tags — you can write a permission boundary that denies iam:CreateRole without specific tag keys. Combined with AWS Budgets cost controls, you can alert on any Bedrock role spending above a threshold, broken down by team or application. The Bedrock Agents and MCP DevOps guide shows the multi-role pattern in practice — one role per agent, each tagged to its owning team.
Explore more like this

Aurora Serverless v2 + Bedrock: AI Database Queries in 2026
I connected Bedrock to our Aurora cluster last month. The first thing I asked it was “show me all customers who churned in Q1 but came back in Q2” —...
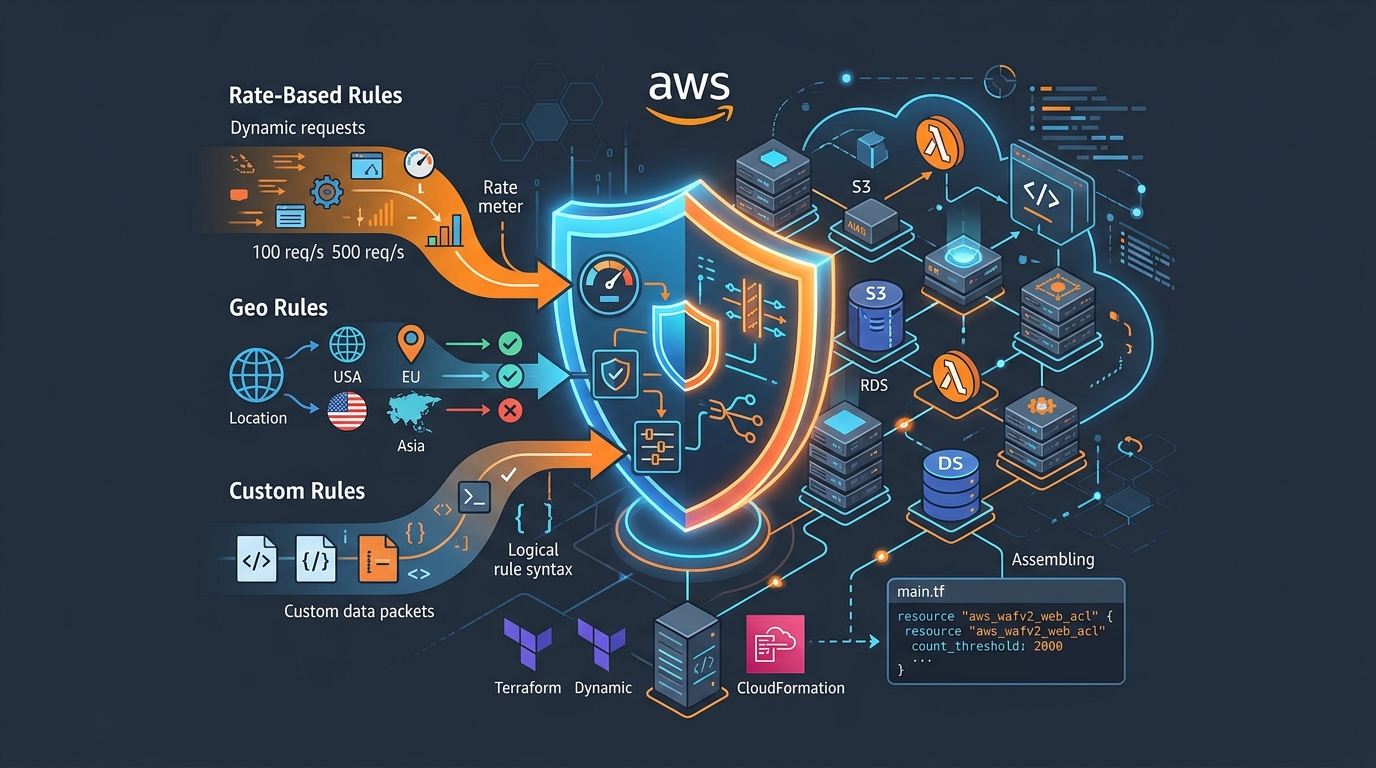
AWS WAF Rules Deep Dive: Rate-Based, Geo, and Custom Rules
WAF is one of those services where the default managed rules get you 80% of the way there. The last 20% is where it gets interesting.

Comments