Unstaging Changes in Git: A Step-by-Step Tutorial
Managing changes is a key part of using Git. This tutorial walks through how to undo git staged changes step by step. All examples work with GitLab as well.
Scenario:
Imagine you’re working on a project. You’ve added some new features and fixed a bug or two. However, as you prepare for a commit, you realize the last few changes are not ready. You need to unstage changes before making the commit.
Here is how to do it using “git unstaged changes”:
Step 1: Check the Status
Check the current status of your repository to see which files are staged for commit:
$ git status
You might see an output like this:
On branch main
Changes to be committed:
  (use "git restore --staged <file>..." to unstage)
    modified:   index.html
    modified:   script.js
    modified:   styles.css
Step 2: Unstage Individual Files
To unstage specific files, use the git restore --staged command followed by the file name(s):
$ git restore --staged script.js styles.css
This removes script.js and styles.css from the list of staged files.
Step 3: Verify Changes
Run git status again to verify that your files have been unstaged:
$ git status
The output should show something like this:
On branch main
Changes not staged for commit:
  (use "git add <file>..." to update what will be committed)
  (use "git restore <file>..." to discard changes in working directory)
    modified:   script.js
    modified:   styles.css

Changes to be committed:
  (use "git restore --staged <file>..." to unstage)
    modified:   index.html
The files script.js and styles.css now appear in the ‘changes not staged for commit’ section, confirming the unstaging worked.
Step 4: Commit Changes
With the correct changes staged, proceed with your commit:
$ git commit -m "Update index.html"
You have successfully unstaged changes in Git. Your commit now includes only the appropriate updates. Remember this process for future instances where you need to amend your staged changes before committing. With practice, managing git unstaged changes will become natural.
Additional Tips for Managing Unstaged Changes
There are a few more ways to manage unstaged changes in Git. These methods help you ensure every commit accurately reflects your intended updates.
Discarding Unstaged Changes
Sometimes you may want to discard changes entirely. Use the git restore command followed by the file name(s):
$ git restore script.js styles.css
This reverts script.js and styles.css to their state from the last commit.
Staging All Changes
If all your current changes should be part of a single commit, use the git add command with a period (.) to stage everything at once:
$ git add .
This stages all changes and lets you commit them in one batch.
Ignoring Untracked Files
To prevent untracked files from appearing in git status, create a .gitignore file in your repository’s root directory. Add file names or patterns for each type you want Git to ignore:
# .gitignore file example
node_modules/
*.log
.DS_Store
This keeps unwanted files from being staged or committed.
These strategies alongside the step-by-step tutorial will help you manage git unstaged changes more effectively. Practice is key to making staged and unstaged changes feel effortless.
Advanced Git Techniques for Managing Changes
Once you understand the basics of managing git unstaged changes, you can explore more advanced techniques for an organized version control system.
Using Git Stash
git stash temporarily saves changes in your working directory that are not ready to be committed. This is useful when switching branches or tackling another task without losing your current progress.
To save your work with git stash:
- Check the status of your working directory:
$ git status
- Run
git stash save, followed by an optional message:
$ git stash save "Work in progress"
Your changes are stored separately, leaving your working directory clean.
- To reapply stashed changes later, use
git stash applyfollowed by the stash reference (e.g., ‘stash@{0}’):
$ git stash apply stash@{0}
Note that git stash apply may cause merge conflicts if files have changed significantly since you stashed them.
Interactive Staging with Git Add -i
Interactive staging lets you selectively stage parts of a file instead of entire files. Using git add -i, you have better control over what goes into specific commits.
Follow these steps for interactive staging:
- Run
git add -ito start interactive mode:
$ git add -i
- Choose from options depending on what you want to do:
- (s)tatus: Show how modified files would look after applying actions.
- (u)pdate: Add modified content to the index.
- (r)evert: Revert changes made to modified files.
- (a)dd untracked: Add untracked files to the index.
- (p)atch: Selectively stage parts of a file by choosing hunks or lines.
- (d)iff: Display diffs for staged content using Git’s regular diff output settings.
- Follow the on-screen prompts for your chosen action.
For example, to use (p)atch, you would choose ‘5’ and follow the subsequent instructions.
Managing Git Staged Changes with Commit History
Keeping track of your commit history matters. git log displays a list of past commits so you can see how your project has evolved:
$ git log
You can customize commit history views using flags like --pretty, --graph, or --stat.
Mastering advanced techniques alongside basic strategies for managing staged and unstaged changes will improve your project efficiency and organization. Practicing these tools consistently will result in smoother workflows when handling version control tasks.
Explore more like this
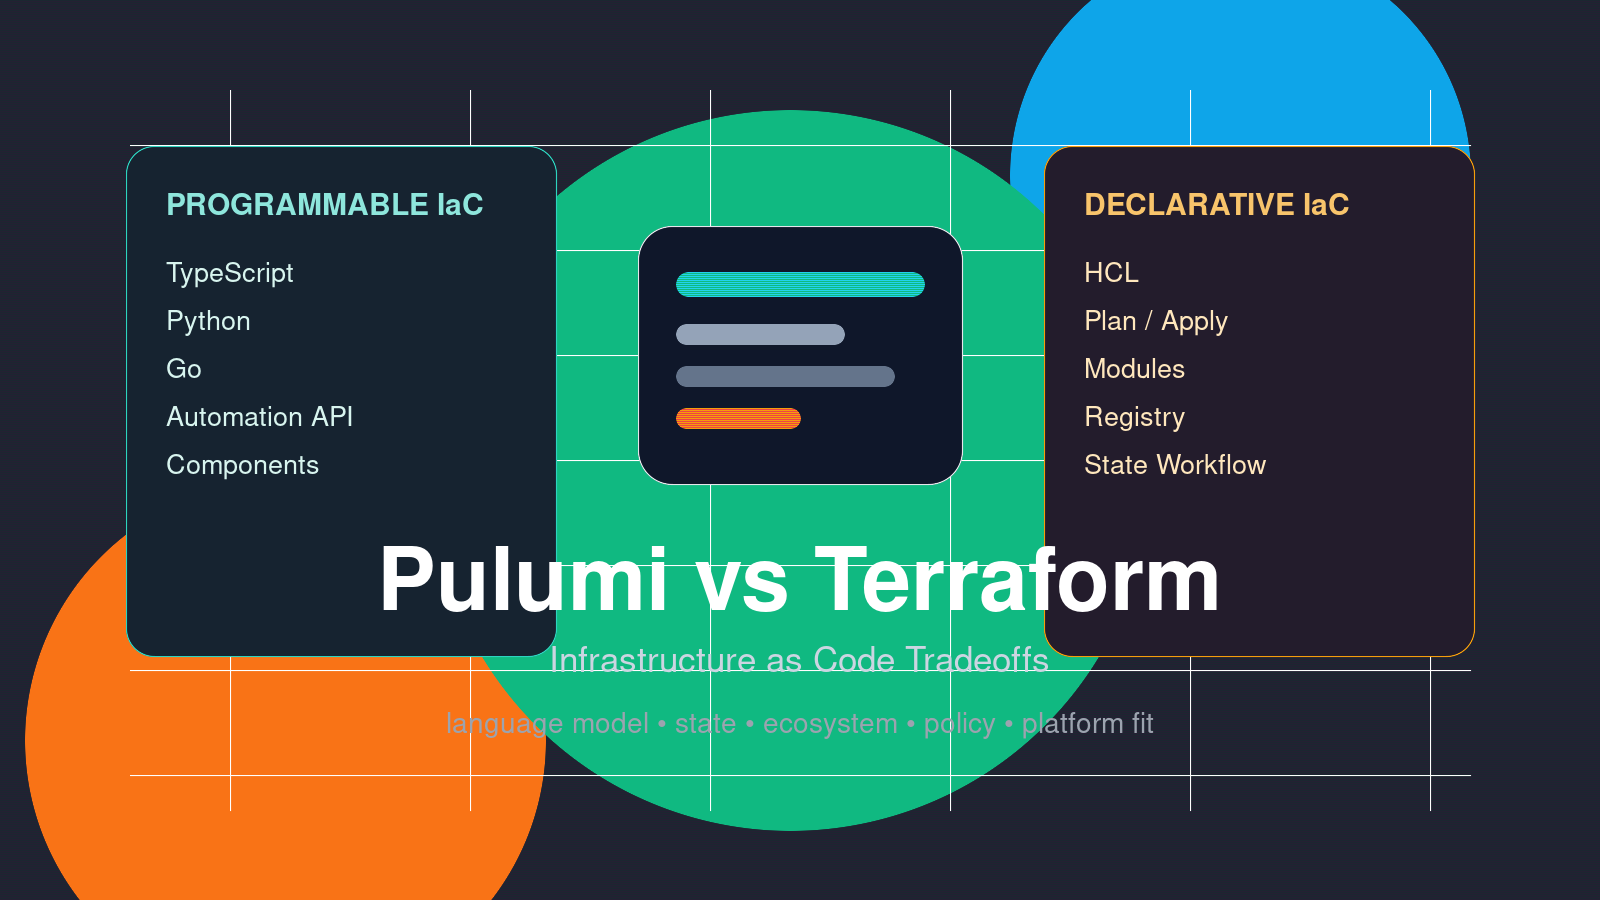
Pulumi vs Terraform: The Real Infrastructure as Code Tradeoffs
Pulumi vs Terraform is usually framed as “real programming languages versus HCL.” That framing is useful for about five minutes, then it starts hiding the real decision.

Kafka vs Apache Pulsar: Usability, Workflows, Tradeoffs, and Paradoxes
Kafka vs Apache Pulsar is no longer a simple “streaming log versus cloud-native queue” debate. That shortcut used to be useful, but it is now too shallow for real platform...


Comments