GitLab Runner Tags: The Complete Guide for 2026

At some point in every GitLab CI/CD setup, the single shared runner stops being enough. Backend tests queue behind someone’s slow frontend build. GPU jobs wait on the same runner handling basic CPU tasks. Deployments get stuck because there’s nothing available to run them.
Runner tags are how you fix that. They’re labels — just strings — that you put on runners and reference in your jobs. GitLab’s scheduler matches jobs to runners based on which tags overlap. Simple concept, but the downstream effects on pipeline performance are real.
I’ve been through two runner migrations at scale — one from a flat shared runner pool to environment-based tags, another to full Kubernetes ephemeral runners — and there are a handful of patterns that work and a handful that don’t. This post covers both. If you’ve read the original runner tags post and want to go further, this is that post.
What Runner Tags Actually Do
A GitLab runner tag is a label you attach during runner registration. When you define a job in .gitlab-ci.yml, you specify which tags that job requires. GitLab’s scheduler only sends that job to a runner that has all the required tags.
That’s it. That’s the whole mechanism. But the consequences are huge.
Without tags, you have one implicit tag pool: runners that match your executor type (shell, docker, kubernetes, etc.). Everything flows there. As you grow, this becomes a traffic jam. With tags, you partition your infrastructure into logical pools. Jobs that need GPU go to GPU runners. Jobs that need high memory go to high-memory runners. Jobs that need access to your internal VPN go to internal runners. Jobs that are safe to run on the cheapest instance type run on cheap runners.
Tags are additive on both sides. A job can require multiple tags; a runner can provide multiple tags. GitLab runs a job on a runner only if that runner has every tag the job requires. You can stack environment, resource, and team dimensions together — a runner tagged prod,high-memory,team:backend is a valid target for any job that requires any subset of those tags.
How Tag Matching Actually Works
Here’s how the matching actually works. Say you register a runner like this:
gitlab-runner register \
  --url https://gitlab.company.com/ \
  --registration-token $TOKEN \
  --executor kubernetes \
  --tag-list "k8s,prod,high-mem" \
  --description "Production Kubernetes Runner"
That runner now has three tags: k8s, prod, and high-mem.
In your .gitlab-ci.yml, you write:
deploy_prod:
  stage: deploy
  tags:
    - prod
    - high-mem
  script:
    - ./deploy.sh
GitLab’s scheduler looks at this job and says: “I need a runner with tags prod AND high-mem.” It checks all available runners and finds the one we just registered—it has both tags, plus the k8s tag it doesn’t need. That’s fine. The job goes there.
Now let’s say you have another job:
unit_tests:
  stage: test
  tags:
    - k8s
  script:
    - npm test
This job only requires k8s. The same runner qualifies—it has k8s and more. So this job also goes there. Both jobs can queue on the same runner and execute if the runner has capacity.
One thing that trips people up constantly: if a job requires a tag that no registered runner has, the job just sits in the queue forever. No error, no notification. It just waits. That’s usually the first debugging scenario you’ll hit.
Related: jobs with no tags at all only go to runners that have run_untagged: true set, or to runners with no tags themselves. If your entire runner fleet is tagged and run_untagged is false, those tag-less jobs will never run. I’ll get to this in the mistakes section.
Tag Strategy for Real Teams
The theory is simple. The practice is where people get creative, sometimes to their detriment. Let me walk through the strategies that actually work at scale.
Environment-Based Tags
The most obvious approach: one tag per environment.
deploy_dev:
  stage: deploy
  tags:
    - dev
  script:
    - ./deploy.sh dev

deploy_staging:
  stage: deploy
  tags:
    - staging
  script:
    - ./deploy.sh staging

deploy_prod:
  stage: deploy
  tags:
    - prod
  script:
    - ./deploy.sh prod
You register different runners for each environment:
# Development runner on a small instance
gitlab-runner register --tag-list "dev" --executor kubernetes

# Staging runner with more capacity
gitlab-runner register --tag-list "staging" --executor kubernetes

# Production runners, high availability setup
gitlab-runner register --tag-list "prod" --executor kubernetes --concurrency 5
gitlab-runner register --tag-list "prod" --executor kubernetes --concurrency 5
This is clean and makes immediate sense. Production deployments only go to production runners. You can isolate incidents. You can manage resource allocation separately for each environment.
The downside: your runners aren’t shared. A staging runner sitting idle while dev jobs are queued is wasted capacity. Real teams usually combine this with other tagging schemes.
Resource-Based Tags
Tag runners by their capabilities or resource specifications:
resource_intensive_build:
  stage: build
  tags:
    - high-memory
    - docker
  script:
    - ./build-large-binary.sh

gpu_training:
  stage: train
  tags:
    - gpu
    - cuda-12
  script:
    - python train.py

quick_tests:
  stage: test
  tags:
    - standard
  script:
    - npm test
Then you register runners with matching capabilities:
# High-memory runner
gitlab-runner register --tag-list "high-memory,docker" \
  --kubernetes-memory-limit 16Gi

# GPU runner
gitlab-runner register --tag-list "gpu,cuda-12" \
  --kubernetes-memory-limit 8Gi \
  --kubernetes-node-selector "nvidia.com/gpu=true"

# Standard runners
gitlab-runner register --tag-list "standard,docker" \
  --kubernetes-memory-limit 2Gi
This is more nuanced. It lets you match jobs to actual compute profiles. You can have a fleet of cheap standard runners and a smaller set of expensive GPU runners. Jobs naturally flow to the cheapest resource that can run them.
This approach requires you to actually know what your jobs need. Tag a job high-memory when it doesn’t need it and you’re wasting expensive capacity. Tag it standard when it actually needs 16GB and it’ll OOM and fail. You need to measure before you tag.
Team-Based Tags
If you have multiple teams or projects sharing infrastructure:
backend_build:
  stage: build
  tags:
    - team:backend
    - docker
  script:
    - ./build.sh

frontend_build:
  stage: build
  tags:
    - team:frontend
    - docker
  script:
    - npm build

data_pipeline:
  stage: process
  tags:
    - team:data
    - high-compute
  script:
    - ./pipeline.py
Register runners per team:
# Backend team runners
gitlab-runner register --tag-list "team:backend,docker" --concurrency 4

# Frontend team runners
gitlab-runner register --tag-list "team:frontend,docker" --concurrency 3

# Data team runners (shared high-compute)
gitlab-runner register --tag-list "team:data,high-compute" --concurrency 2
This prevents one team’s runaway jobs from blocking another team’s builds. You can allocate capacity and costs per team. You can upgrade or change hardware for one team without affecting others.
In practice, most organizations use some combination of all three. You might tag like: prod, high-memory, team:backend. That runner can handle production deployments for the backend team that need high memory.
Ephemeral Runners on Kubernetes: The 2026 Standard
Shell runners on individual VMs had their time. In 2026, most teams running at any reasonable scale have moved to ephemeral Kubernetes runners — pods that get created when a job comes in and cleaned up when it finishes. GitLab Operator is the main way people manage this.
The tag logic is the same. What changes is the operational overhead and cost model.
When you use the GitLab Operator to manage runners, you typically define a Runner resource in your Kubernetes cluster:
apiVersion: apps.gitlab.com/v1beta1
kind: Runner
metadata:
  name: prod-runner
spec:
  gitlabUrl: https://gitlab.company.com/
  tags:
    - prod
    - k8s
    - high-mem
  buildType: pod
  concurrency: 5
  rbac:
    create: true
  resources:
    requests:
      memory: "4Gi"
      cpu: "2"
    limits:
      memory: "8Gi"
      cpu: "4"
This runner is managed by Kubernetes. When a job comes in, the GitLab Operator schedules a pod to run it. When the job finishes, the pod is cleaned up. You’re not managing long-lived runner processes anymore.
Tags still work the same way—jobs request specific tags, runners provide them. But now when you scale, you’re not spinning up new EC2 instances or VMs. You’re just creating more pod instances of the same runner.
The big win: you can be more granular with tags because you’re not limited by the number of long-lived runners you can afford to keep running. Want a specialized runner for GPU jobs? Add a GPU runner resource spec and tag it. Want a runner just for your database migration jobs? Create one and tag it accordingly. The overhead is negligible.
Real .gitlab-ci.yml Examples
Let’s look at a realistic project structure with multiple jobs, multiple environments, and smart tag usage.
stages:
  - test
  - build
  - deploy

variables:
  DOCKER_IMAGE: $CI_REGISTRY_IMAGE:$CI_COMMIT_SHA
  DEPLOY_DOCKER_IMAGE: $CI_REGISTRY_IMAGE:latest

# Lightweight tests, can run anywhere
unit_tests:
  stage: test
  image: node:20-alpine
  tags:
    - docker
  script:
    - npm ci
    - npm run test:unit
  coverage: '/Lines.*?(\d+\.\d+)%/'

# Database-dependent tests, need connection access
integration_tests:
  stage: test
  image: node:20-alpine
  tags:
    - docker
    - requires-postgres
  services:
    - postgres:15
  variables:
    POSTGRES_DB: test_db
    POSTGRES_PASSWORD: testpass
  script:
    - npm ci
    - npm run test:integration
  retry:
    max: 2
    when: runner_system_failure

# Linting and type checking, very fast
lint_and_types:
  stage: test
  image: node:20-alpine
  tags:
    - docker
  script:
    - npm ci
    - npm run lint
    - npm run typecheck
  allow_failure: true

# Docker build for all environments
build_docker:
  stage: build
  image: docker:latest
  services:
    - docker:dind
  tags:
    - docker
    - docker-build
  script:
    - docker login -u $CI_REGISTRY_USER -p $CI_REGISTRY_PASSWORD $CI_REGISTRY
    - docker build -t $DOCKER_IMAGE .
    - docker push $DOCKER_IMAGE
  only:
    - merge_requests
    - main
    - tags

# Deploy to development - low overhead
deploy_dev:
  stage: deploy
  image: kubectl:latest
  tags:
    - dev
    - k8s
  environment:
    name: development
    kubernetes:
      namespace: dev
  script:
    - kubectl set image deployment/app app=$DOCKER_IMAGE -n dev
    - kubectl rollout status deployment/app -n dev
  only:
    - main
  when: manual

# Deploy to staging - more validation
deploy_staging:
  stage: deploy
  image: kubectl:latest
  tags:
    - staging
    - k8s
  environment:
    name: staging
    kubernetes:
      namespace: staging
  before_script:
    - kubectl config use-context staging
  script:
    - kubectl set image deployment/app app=$DOCKER_IMAGE -n staging
    - kubectl rollout status deployment/app -n staging
    - ./smoke-tests.sh staging
  only:
    - main
  when: manual

# Deploy to production - maximum caution
deploy_prod:
  stage: deploy
  image: kubectl:latest
  tags:
    - prod
    - k8s
    - high-availability
  environment:
    name: production
    kubernetes:
      namespace: prod
  before_script:
    - kubectl config use-context prod
  script:
    - kubectl set image deployment/app app=$DOCKER_IMAGE -n prod
    - kubectl rollout status deployment/app -n prod --timeout=5m
    - ./smoke-tests.sh prod
    - ./health-check.sh prod
  only:
    - tags
  when: manual
  retry:
    max: 1
    when: runner_system_failure

# Optional: load testing (requires special runner)
load_test:
  stage: deploy
  image: locust:latest
  tags:
    - load-test
    - high-compute
  script:
    - locust -f locustfile.py --headless -u 1000 -r 100 https://staging.company.com
  only:
    - schedules
  when: manual
Here’s what’s happening:
- Lightweight test jobs (
unit_tests,lint_and_types) just needdocker. They can run on any runner with that tag. integration_testsneedsdockerplusrequires-postgres—you’d register a runner that starts a Postgres sidecar or has database access.build_dockerneeds bothdockeranddocker-build—maybe this runner has Docker daemon privileges while others don’t.- Environment deployments are tagged by environment:
dev,staging,prod. Each environment has different access controls and runners. deploy_prodis extra picky—it needsprod,k8s, andhigh-availability. You’d register this runner in a highly available setup with multiple replicas.load_testis an optional manual job that needsload-testandhigh-compute—it runs on a specialized runner.
If you tried to run deploy_prod on a runner tagged only with dev, it would never execute. If you ran unit_tests without specifying any tags, it would never execute on a tagged runner fleet.
Common Mistakes and How to Avoid Them
Mistake 1: Untagged Runners with Tagged Jobs
You register a runner and forget to give it tags:
gitlab-runner register --executor kubernetes
Then you write a job that requires tags:
my_job:
  tags:
    - docker
  script:
    - echo "test"
The job sits in the queue forever. The untagged runner is available, but the job is looking for a runner with the docker tag. They never match.
Fix: Always tag your runners. Even if it’s something generic like default or general, use it.
gitlab-runner register --executor kubernetes --tag-list "general,docker"
Or enable run_untagged: true in your runner config if you want it to accept both tagged and untagged jobs. But be deliberate about this. In shared infrastructure, untagged runners are usually a mistake.
Mistake 2: Tag Typos
You register a runner with docker-build:
gitlab-runner register --tag-list "docker-build"
But in your CI file you write docker_build:
build:
  tags:
    - docker_build  # Typo: underscore instead of dash
  script:
    - docker build .
The job never finds a runner. The problem is hard to spot because there’s no error message—GitLab just queues the job and it sits there.
Fix: Be consistent with tag naming. Use all lowercase, dashes instead of underscores, and document your tag naming convention. Consider using linters or pre-commit hooks to validate tag names in your .gitlab-ci.yml files.
Mistake 3: Over-Tagging
You get excited and tag everything:
my_job:
  tags:
    - docker
    - prod
    - backend
    - team:platform
    - high-memory
    - gpu
    - special-runner
  script:
    - ./script.sh
Now you need a runner that has all seven of these tags. That runner probably doesn’t exist, or it’s so specialized you only have one. Your job queues forever or runs so infrequently that the overhead is insane.
Fix: Use the minimum tags necessary. Ask: “What’s the smallest set of constraints this job actually needs?” If it’s a simple CPU job, maybe it just needs docker. If it needs specific hardware, add those tags. But don’t tag for organizational structure and resource type and environment all at once unless you actually need all of that specificity.
Mistake 4: Global Tags for Ephemeral Infrastructure
You’re using ephemeral runners on Kubernetes and you tag everything with k8s:
all_my_jobs:
  tags:
    - k8s
  script:
    - echo "runs on kubernetes"
Then you realize most of your jobs do run on Kubernetes. So the tag becomes useless—it doesn’t actually partition anything. You’ve made your tag system too coarse.
Fix: Tags should partition jobs into meaningfully different pools. Use tags for constraints and scarce resources, not for “this runs on our infrastructure.” If 95% of your jobs require k8s, you don’t need that tag—it doesn’t differentiate.
Mistake 5: Not Planning for Tag Evolution
You build a tag system that works for 10 people. Then the team grows to 30. Now everyone’s adding new tags and nobody agrees on naming. You have gpu, cuda, ml, training, expensive, and special-gpu all meaning similar things.
Fix: Document your tag strategy early. Write a simple convention document: “All resource tags are lowercase and use dashes. All team tags are team:name. All environment tags are dev, staging, prod.” Communicate this when onboarding developers. Review tag names in merge requests like you’d review code.
Auditing and Monitoring Runners
As your system grows, you need visibility into what runners are available and which jobs are running where.
List All Runners and Their Tags
gitlab-runner list
This shows your local runners. If you’re using the GitLab Operator or managed runners, check the GitLab admin UI:
Admin > Runners
You’ll see all your runners, their tags, and execution history.
Check Runner Status
From your Kubernetes cluster:
kubectl get runners -A
Look at the runner status and see if they’re healthy and accepting jobs.
Monitor Job-to-Runner Assignment
Enable detailed logging on a runner to see which jobs it’s executing:
gitlab-runner --debug run
Or check the job logs in GitLab—they show which runner executed the job and what tags it matched.
Alert on Stale Jobs
Set up a monitoring alert for jobs in the queue for too long:
# Using GitLab API
curl --header "PRIVATE-TOKEN: $TOKEN" \
  https://gitlab.company.com/api/v4/projects/1/pipelines \
  | jq '.[] | select(.status == "pending") | select(.updated_at < now - 3600) | .'
If jobs are queuing for hours, you have a tag mismatch or insufficient capacity.
Tag-Based Autoscaling with GitLab Operator
This is where things get really interesting in 2026. If you’ve worked with autoscaling GitLab CI on AWS Fargate, the Kubernetes approach here will feel familiar—but with far more granular tag-based control. Instead of manually managing runner capacity, you can define autoscaling policies based on queue depth for specific tags.
With the GitLab Operator, you define a RunnerScaler resource:
apiVersion: apps.gitlab.com/v1beta1
kind: RunnerScaler
metadata:
  name: pod-scaler
spec:
  runners:
    - name: high-memory-runner
      tags:
        - high-memory
  minReplicas: 1
  maxReplicas: 10
  metrics:
    - type: jobs
      jobs:
        queuedJobs: 5
        scaleDownThreshold: 1
This says: “If there are more than 5 queued jobs with the high-memory tag, spin up more runner pods. Keep at least 1 running, but don’t go over 10.”
The runner pods are created on-demand, each tagged with high-memory. As jobs complete, pods are cleaned up. You pay for compute only when you need it.
You can define multiple scalers for different tag categories:
---
# Scale compute runners
apiVersion: apps.gitlab.com/v1beta1
kind: RunnerScaler
metadata:
  name: compute-scaler
spec:
  runners:
    - name: high-compute-runner
      tags:
        - high-compute
  minReplicas: 2
  maxReplicas: 50
  metrics:
    - type: jobs
      jobs:
        queuedJobs: 3

---
# Scale GPU runners (more expensive)
apiVersion: apps.gitlab.com/v1beta1
kind: RunnerScaler
metadata:
  name: gpu-scaler
spec:
  runners:
    - name: gpu-runner
      tags:
        - gpu
  minReplicas: 0
  maxReplicas: 5
  metrics:
    - type: jobs
      jobs:
        queuedJobs: 1  # Scale more aggressively
        scaleDownThreshold: 0  # Clean up immediately
This approach means your infrastructure expenses are directly tied to demand. During off-peak hours, runners scale down to zero. During a heavy build period, they scale up automatically.
Migration: From Shell Runners to Kubernetes with Tags
If you’re running the old way—shell runners on individual machines—here’s how to migrate to modern Kubernetes ephemeral runners with a proper tag strategy.
Phase 1: Plan Your Tag Structure
Before touching any runners, document your tag strategy. What are your environments? What resource constraints exist? What teams need isolation?
Example plan:
Environments: dev, staging, prod
Resources: standard, high-memory, gpu
Teams: team:backend, team:frontend, team:data
A job might be tagged: prod, team:backend (production backend job)
A runner might provide: prod, team:backend, k8s, high-memory
Phase 2: Deploy Kubernetes Runners in Parallel
Don’t shut down shell runners yet. Deploy Kubernetes runners alongside them with your new tag structure:
# Deploy ephemeral runners on your Kubernetes cluster
helm repo add gitlab https://charts.gitlab.io
helm repo update

helm install gitlab-runner gitlab/gitlab-runner \
  --namespace gitlab-runner \
  --create-namespace \
  --set gitlabUrl=https://gitlab.company.com/ \
  --set gitlabRegistrationToken=$TOKEN \
  --set runners.tags="k8s\,docker\,general" \
  --set runners.replicas=3 \
  --set runners.image=ubuntu:20.04
These new runners have the tags you defined. Old jobs still work on old runners. New jobs can use the new tagged runners.
Phase 3: Update Your CI Files Gradually
As you modify pipeline files, add tags:
Before:
build:
  stage: build
  script:
    - ./build.sh
After:
build:
  stage: build
  tags:
    - k8s
    - docker
  script:
    - ./build.sh
You don’t have to do all files at once. Rollout gradually. Jobs without tags still work on the old runners.
Phase 4: Monitor and Validate
Check that jobs are running on the right runners. Look at the job logs—they show which runner executed it.
# Check job details
curl --header "PRIVATE-TOKEN: $TOKEN" \
  https://gitlab.company.com/api/v4/projects/123/jobs/456 \
  | jq '.runner.tags'
Make sure your new tagged jobs are actually going to the new runners, and execution times are reasonable.
Phase 5: Retire Old Runners
Once you’re confident in the new system, disable the old shell runners:
gitlab-runner uninstall -s gitlab-runner
Or just delete them from the GitLab admin UI. Remove the registration tokens so they can’t be re-enabled accidentally.
If you hit any issues during this phase, you can always re-enable the old runners to fall back.
Wrapping Up
Runner tags are one of those features that seem simple until you actually need them—then they become essential. They’re the mechanism that separates casual single-developer CI/CD from professional, scalable systems that teams depend on.
The key takeaway: tags are about matching job requirements to runner capabilities. Start simple. Use environment tags. Add resource tags when you have actual resource constraints. Avoid over-tagging. Document your convention. Use ephemeral Kubernetes runners so you can be generous with tags without wasting money.
In 2026, if you’re not using tags effectively, you’re probably overthinking your runner architecture or leaving money on the table. Get tags right, and the rest of your CI/CD infrastructure becomes much simpler.
Explore more like this
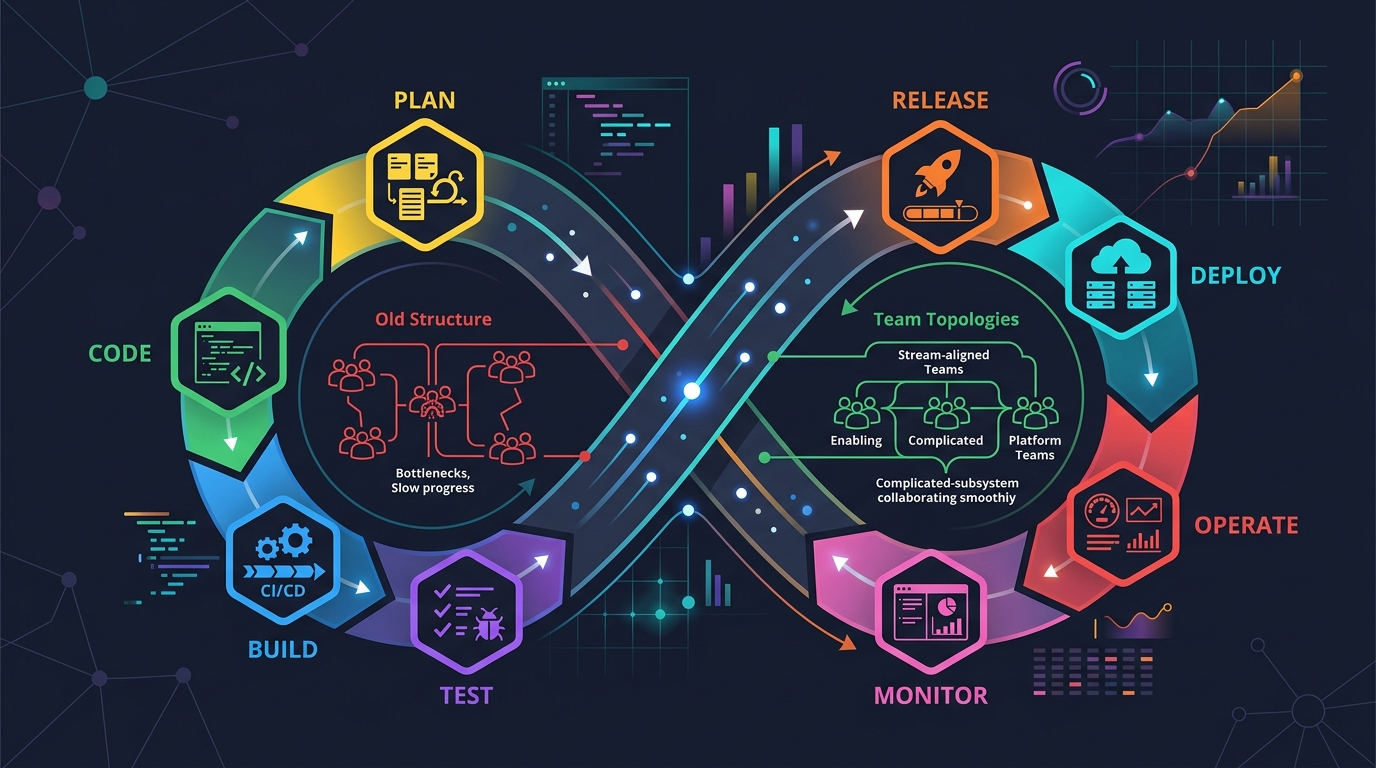
Scrum + Team Topologies: Why Your DevOps Team Structure Might Be Slowing You Down
I spent three years at a company that spent $4 million on “DevOps transformation.” New tools, new cloud infrastructure, training budgets, the works. The velocity of the platform stayed flat....
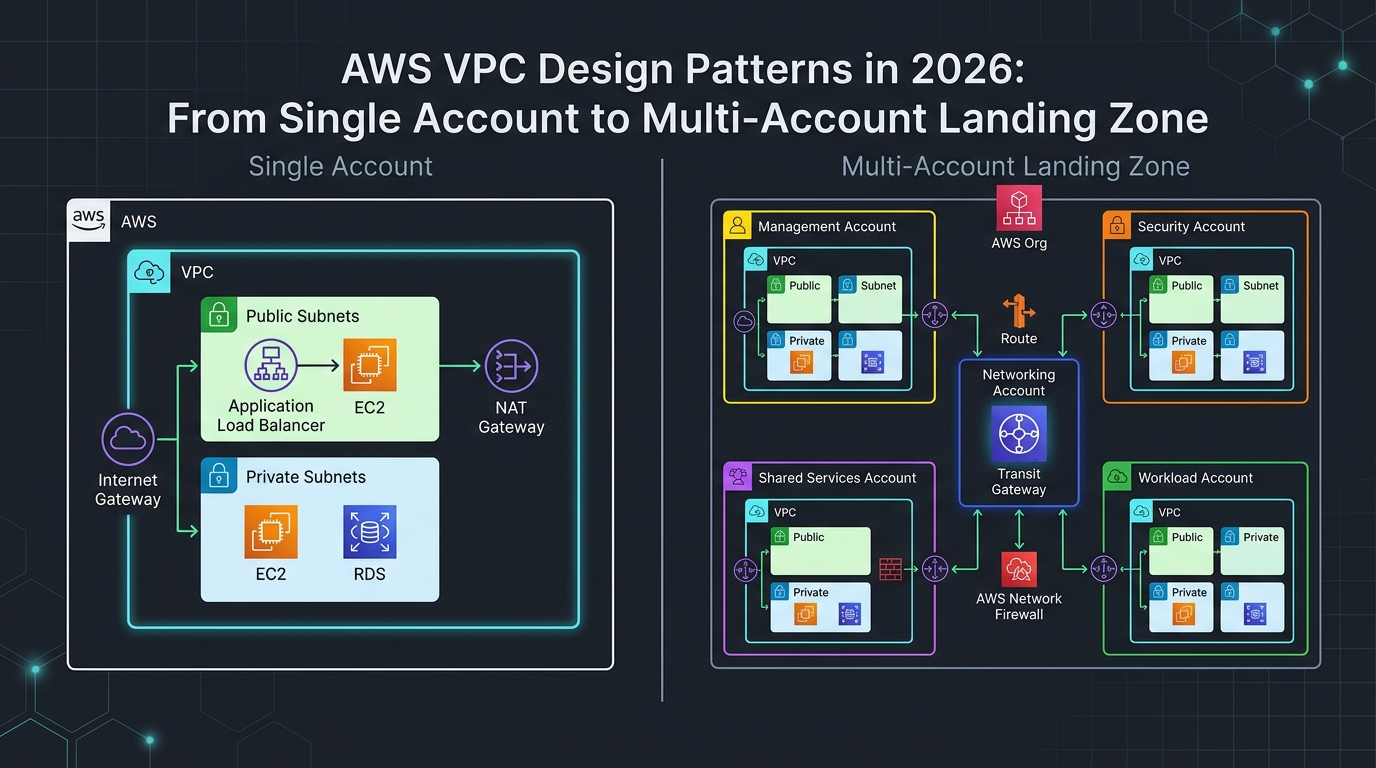
AWS VPC Design Patterns in 2026: From Single Account to Multi-Account Landing Zone
The VPC decisions you make on day one will follow you for years. I’ve lived through the consequences—redesigning a network that was built without proper CIDR planning, watching a simple...

Comments