Terraform Workspaces
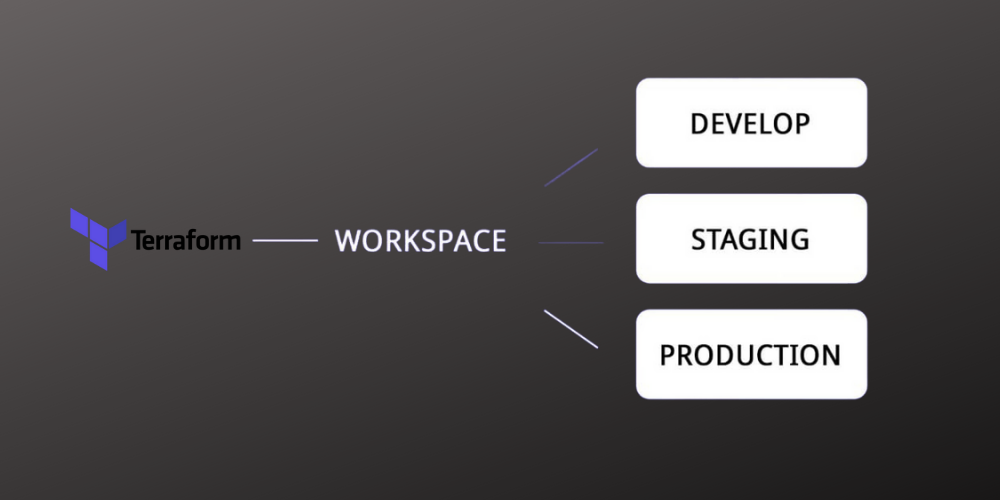
If you’ve used Terraform for any serious infrastructure work, you’ve probably felt the pain of managing separate state files for dev, staging, and production. That’s exactly what workspaces solve.
What is a Terraform workspace?
A workspace lets you use the same configuration files with multiple isolated state files in a single backend. Instead of duplicating your Terraform code or managing separate directories, you switch contexts and Terraform handles the rest.
This is useful when you want identical infrastructure in multiple environments, or when you’re testing changes safely before touching production.
Terraform Workspaces
Setting up the backend
Start by configuring your remote state. Here’s an S3 backend example:
terraform {
  backend "s3" {
    bucket = "my-terraform-state"
    key    = "infrastructure/terraform.tfstate"
    region = "us-east-1"
  }
}
The workspace name gets appended to your key path automatically. For the S3 backend, the default prefix is env:/, so if your key is infrastructure/terraform.tfstate and your workspace is dev, the state file lands at env:/dev/infrastructure/terraform.tfstate.
You can customize the prefix with workspace_key_prefix if env:/ doesn’t fit your naming conventions.
Workspace commands
Initialize
terraform init
List all workspaces
terraform workspace list
The current workspace shows with a *:
* default
Show current workspace
terraform workspace show
Create a new workspace
terraform workspace new dev
Output:
Created and switched to workspace "dev"!

You're now on a new, empty workspace. Workspaces isolate their state,
so if you run "terraform plan" Terraform will not see any existing state
for this configuration.
Switch between workspaces
terraform workspace select production
Create-if-not-exists pattern
A common pattern in CI/CD pipelines:
export WORKSPACE_NAME=dev
terraform workspace select $WORKSPACE_NAME || terraform workspace new $WORKSPACE_NAME
terraform plan -input=false -out=myplan.bin
This tries to select the workspace first. If it doesn’t exist, it creates it. Useful in automation where you don’t want the pipeline to fail on a missing workspace.
Using variables per workspace
Each workspace typically needs its own variable values. A few approaches:
Separate tfvars files per environment:
terraform plan -var-file="dev.tfvars"
Branch-based workflow: Keep a different terraform.tfvars per Git branch. When the pipeline runs, it selects the workspace matching the branch name, and the tfvars file in that branch contains the right values.
TF_WORKSPACE environment variable: In automation, you can set TF_WORKSPACE=dev instead of calling terraform workspace select. Terraform picks it up automatically. Just make sure whoever touches the pipeline remembers it’s set — it’s easy to forget and apply to the wrong environment.
Using terraform.workspace in your config
The terraform.workspace variable gives you the current workspace name. You can use it to make resource names or tags differ across environments:
resource "aws_security_group" "default" {
  vpc_id = var.vpc_id
  name   = "webserver-${terraform.workspace}"
  egress {
    from_port   = 0
    to_port     = 0
    protocol    = "-1"
    cidr_blocks = ["0.0.0.0/0"]
  }
  tags = module.tags.tags
}
This creates webserver-default, webserver-dev, webserver-production — one security group per workspace without duplicating code.
Things that trip people up
State isolation is real. When you create a new workspace, you start with a clean state. Terraform doesn’t see any existing resources. That’s the point, but it’s surprised me before I remembered it.
Verify before you apply. Run terraform workspace show before terraform apply. Seriously. It’s a cheap habit that prevents prod mistakes.
Production deserves its own backend considerations. Some teams keep production state in a separate backend entirely, especially in organizations where dev and prod live in different AWS accounts. Workspaces are great, but they’re not a hard boundary.
Don’t use the workspace name alone as your only uniqueness mechanism. Concatenating terraform.workspace to resource names works for simple cases, but if you have modules that create multiple resources, make sure the full naming chain produces unique names across all workspaces.
Quick reference
| Command | What it does |
|---|---|
terraform workspace list |
Show all workspaces |
terraform workspace show |
Show current workspace |
terraform workspace new <name> |
Create and switch |
terraform workspace select <name> |
Switch to existing |
terraform workspace delete <name> |
Delete a workspace (must be empty) |
Workspaces are one of those features that feel obvious once you use them for a while. They’re not a replacement for proper environment separation in all cases, but for most teams managing dev/staging/prod with the same code, they clean up a lot of clutter.
If you want to dig deeper, check out the Terraform state docs and the official workspace documentation.
Explore more like this

Terraform State Locking with S3 and DynamoDB in 2026
The moment two engineers run terraform apply at the same time without state locking, you have a race condition that can corrupt your entire infrastructure state. Both processes read the...

GitLab CI Environments and Review Apps in 2026
Review apps changed how my team does code review. Instead of reading diffs, reviewers click a link and see the actual change running. The designer can verify spacing on the...


Comments